Nowadays, we cannot even think to pass the 5 minute without internet. However, if you have decide to migrate from one city to another city or country, it can be daunting to know how to set up internet at your new home. Well, the same stress I feel when I decide to move in new home. But don’t worry I have learned and set up internet in my new home. So, I will share with you so that you can set up at your new home.
Lets start,
Steps to Set Up Internet at Your New Home
Let me now proceed to guide you through the process of establishing your Wi-Fi network:
Choose the Right Internet Service Provider
I must say, don’t make the mistake of choosing the wrong internet provider. When you move into your new home, research and even ask your neighbours about the internet service provided to choose the right one. You can also read the reviews and feedback of locals on your chosen internet provider. ISPs offer different connections, like DSL, cable, fiber-optic, and satellite, each with varying speeds and coverage areas. So, keep in mind some factors like connection type, speed, reliability, and customer reviews and then decide which one is best for you.
Decide on a Subscription
Once you have settled on an ISP that aligns with your requirements, the next step involves picking an internet subscription. Typically, providers present various plans distinguished by factors like speed, data constraints, and contractual arrangements. Some plans incorporate free or leased equipment like modems and routers, while others mandate acquiring your wireless device. However, it’s worth noting that satellite internet services are progressing swiftly, offering viable alternatives for consideration. Also, consider exploring the ACP Program Michigan for potential incentives or support that may enhance your internet subscription choices.
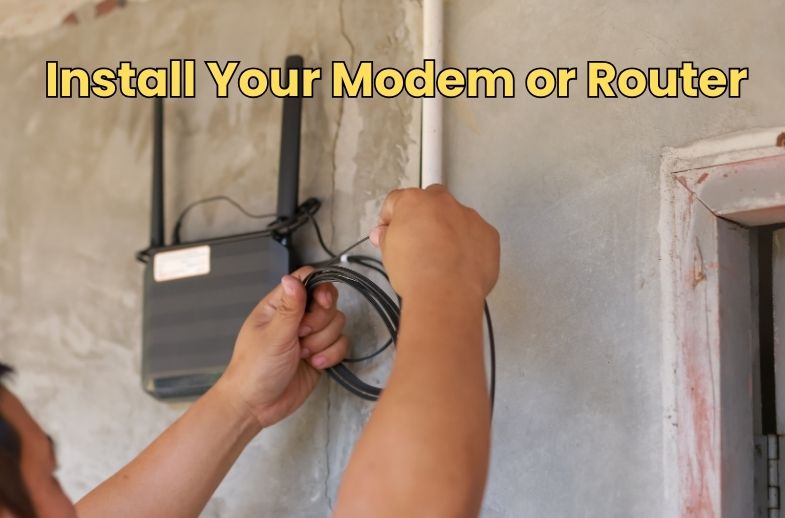
Install Your Modem or Router
Installing your modem or router is likely the most time-intensive physical task, although it is reasonably straightforward. To establish a connection with your modem, the optimal approach is to follow the instructions provided by your ISP. Occasionally, you might require the assistance of an internet technician to install new wall ports at your property. Remember to position your modem near the internet access point, such as a cable outlet or phone outlet. Therefore, it’s advisable to have access ports installed in a relatively central area of your residence.

Set Up Your Router
Your router serves as the manager of your home network. It establishes your Wi-Fi network, allocates IP addresses, manages data flow, and ensures the smooth routing of all your data to its designated destinations. It’s important to ensure that your router is compatible with specific Wi-Fi standards (like Wi-Fi 5 or 6) to maximize the benefits of your internet service. Choosing a router involves various considerations, as there are multiple factors at play. If you require assistance making an informed decision, refer to our article on the best routers for guidance.
Connect Your Wi-Fi Router to The Modem
Now that you possess an internet modem within your household, successfully linked to the internet. Your sole remaining task is establishing connections between all your devices and this internet source. In cases where the modem is equipped with WiFi capabilities, it also functions as a WiFi router, generating an internal WiFi network accessible for device connections throughout your home. Alternatively, acquiring a secondary WiFi router becomes necessary to pair with your modem if the modem lacks this feature. Don’t be intimidated by the ports on these devices’ rear.
Change the Network Name (SSID)
After successfully accessing your router settings and updating your password, modifying your network name (SSID) is advisable. Initially, potential hackers can easily recognize default router identifiers, significantly simplifying unauthorized access. Changing the SSID immediately makes this process more difficult and time-consuming. Using a customized SSID streamlines the process of connecting to your network, allowing you to identify your connection quickly. Just like updating your network password, it’s recommended to refresh the network name every few months to ensure the security of your home network’s internet connection.
Connect All Your Devices
Streamline your process and save time down the line by connecting all your devices to your new internet setup simultaneously. Remember to include less conspicuous devices, such as smart home gadgets and printers. Contact your service provider if you encounter difficulties getting your internet operational in your new residence. They should be able to assist you in diagnosing the issue and finding a solution.
Troubleshooting and Support
Even with a successful installation, you might encounter occasional issues with your Internet connection. so still, if you face some troubleshooting it is better to restart the modem. Hence, if it does not start with a restart you can check the firmware updates or direct contact to customer service support of your internet company. Most of the companies have websites, social media pages and customer care numbers to resolve customer queries.
To Wrap Up
Well, these are details to set up internet services in your new home. You can easily navigate the complexities by following the step-by-step process outlined in this guide. Each stage contributes to a seamless and reliable internet connection, from selecting the right ISP to installing modems and routers and ensuring network security. Utilize available resources and take proactive steps for a smooth digital transition.


