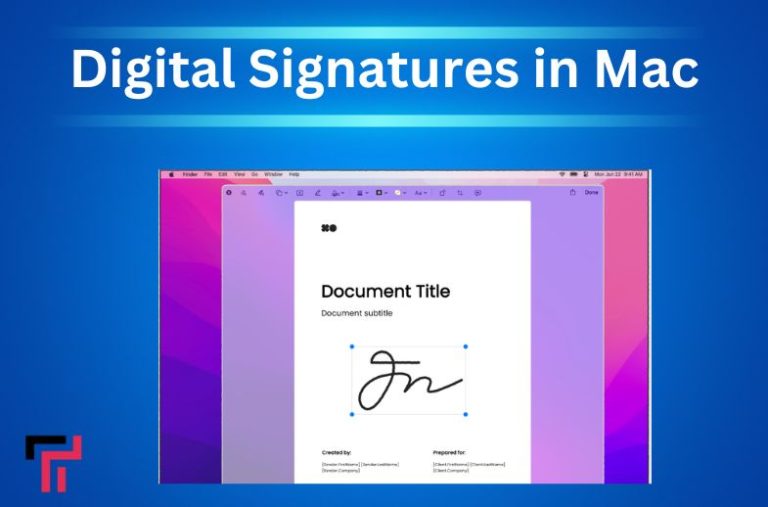
Mac has made creating digital signatures easier than ever. There are several ways creating a digital signature can benefit you. Since most of the documentation is being shared and processed through the Internet, having your authentic digital signatures can help you sign these papers whenever required.
For this article, we have some of the very best methods that you can use to create digital signatures in Mac. We will describe these methods comprehensively so that you don’t face any type of inconvenience.
Let’s start.
How to Create a Digital Signature in Mac for PDF Files?
The latest OS of Mac comes with a revamped application for your previews. This in-built application has a proper Digital Signature feature, which will be handy for digitally signing your PDF files. In fact, if you have multiple signatures then this preview can be of much help. It offers you the feature of saving multiple signatures in the application itself. However, while creating your own original digital signature, you will have to use the iSight camera of Mac to capture your original, authentic autograph.
How to Set and Create a Digital Signature on a Mac?
- Begin with launching and downloading the preview application. After this, visit the preview and choose the ‘preferences’ tab.
- When you choose ‘preferences,’ you will find an option called ‘signatures’. Click the option.
- After opening the ‘signatures’ you will get a ‘+’ sign. Click this sign, and you will soon find a blue screen popping up before you.
- Now, you must sign on a proper, distinct piece of paper and hold it before the iSight camera. Make sure that the camera is as authentically placed as possible. You will also have to ensure that the camera rests on the screen’s blue line.
- Keep a glance at the ‘Signature Preview’ option to get a proper and apt view.
- Once satisfied with the alignment, click on the ‘accept’ option to capture and create your digital signature.
- Follow the same steps for multiple digital signatures on Mac. However, only the Mountain Lion, OS X Lion, and the Beyond of Mac let you create digital signatures.
Inserting Signature on PDF Files
- Open your required PDF file and click on the ‘annotations’ tab.
- After clicking this tab, you will find a stylized version of S. Click on it.
- Clicking on this S will offer you various options to place and insert your signature. You can also resize the signature with the resizing options present in this tab.
How to Create a Digital Signature in Mac Mail?
Apart from preview, Mac also comes with another application called Mail which automatically lets you create and insert your personalized digital signs in emails. Here, you can also create different signs for different emails.
- Launch this app from the dock menu, the finder or the applications folder.
- Choose this app’s option called ‘preferences’ (on the upper left portion). You will soon find a series of choices.
- Click the’ signature’ option where you will find the ‘+’ options. Now, use this icon to create your signature.
After creating the signature, rename it and save it. You can also create multiple signatures in the same procedure.
These guidelines will surely help you create digital signatures in Mac and use signatures in app. So, get going now, to make your authentic digital signatures in a jiffy.
Conclusion:
Having your authentic digital signatures at hand can help you sign digital documents with maximum ease. If you are a Mac user, you can create these digital signatures easily. Mac provides you with different features that can help you in doing so. We have discussed some of the best methods that you can use in the information given above.


